Having purchased my first batch of equipment discussed in ” A start to the Bee keeping venture”, one of my first tasks is to build the hive, this isn’t always required, but I took the lower cost option of buying my hive flat packed, this and purchasing from the trade show has saved over £100 which is about 40% of the retail cost.
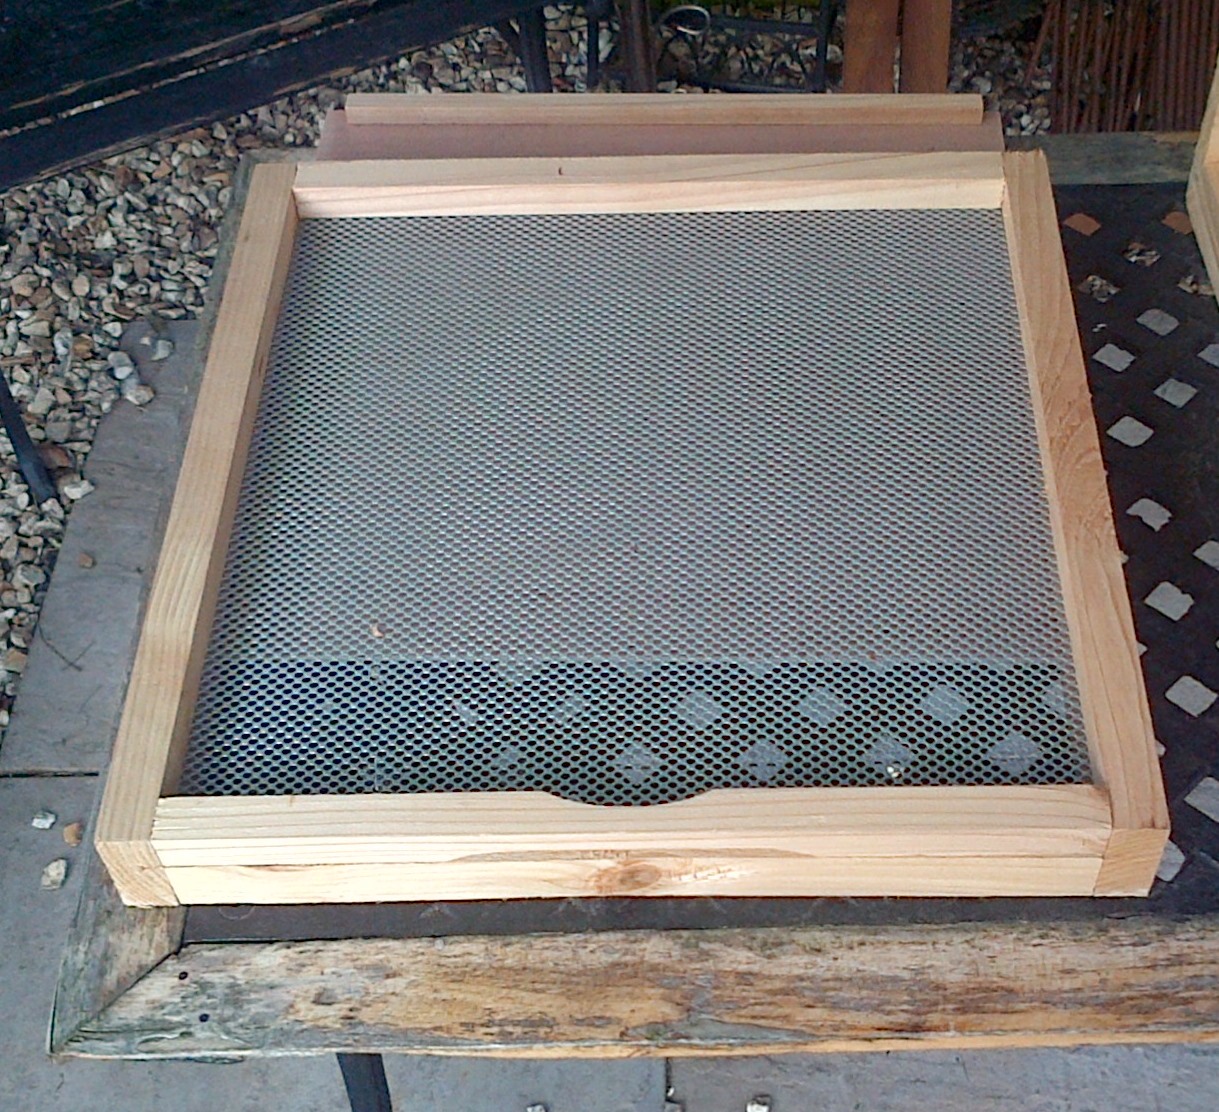
The Meshed Base
The base of the hive comes pretty much intact, this is an open mesh floor and has a sliding tray that catches the debris from the hive and allows you to inspect for Varroa mites. The open mesh on this type of hive also provides ventilation whilst maintaining security.
The base also has the main entrance to the hive in the form of a small slot.
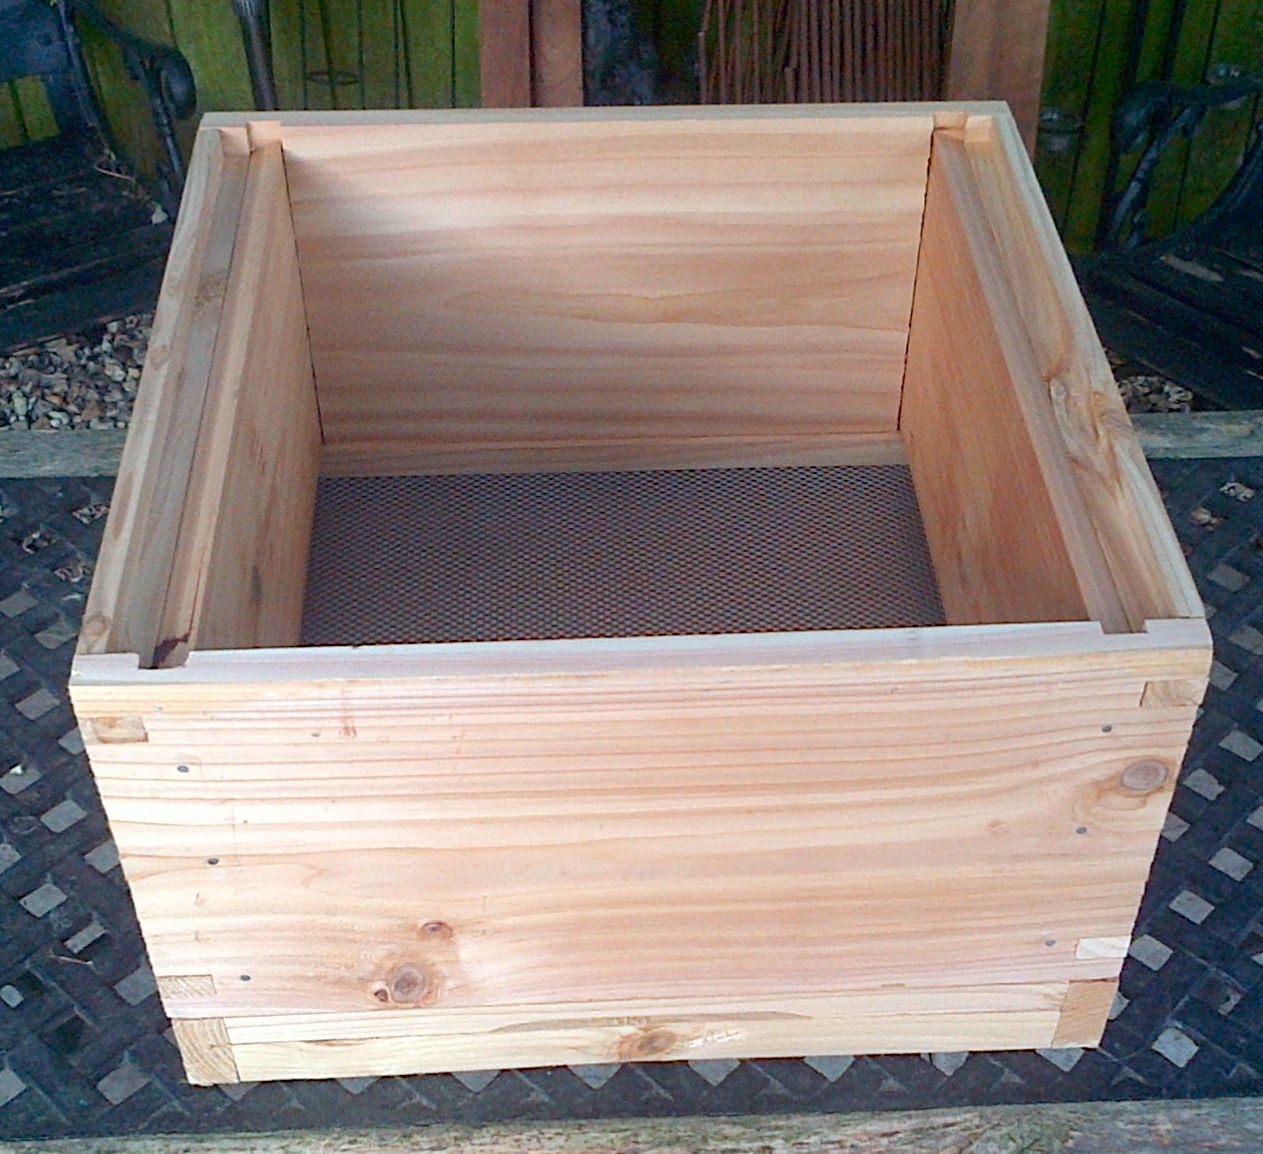 Step one was to build the larger Brood chamber, this is where the colony will hopefully thrive and grow, it’s where the Queen will live and lay her eggs and is the most important part of the hive.
 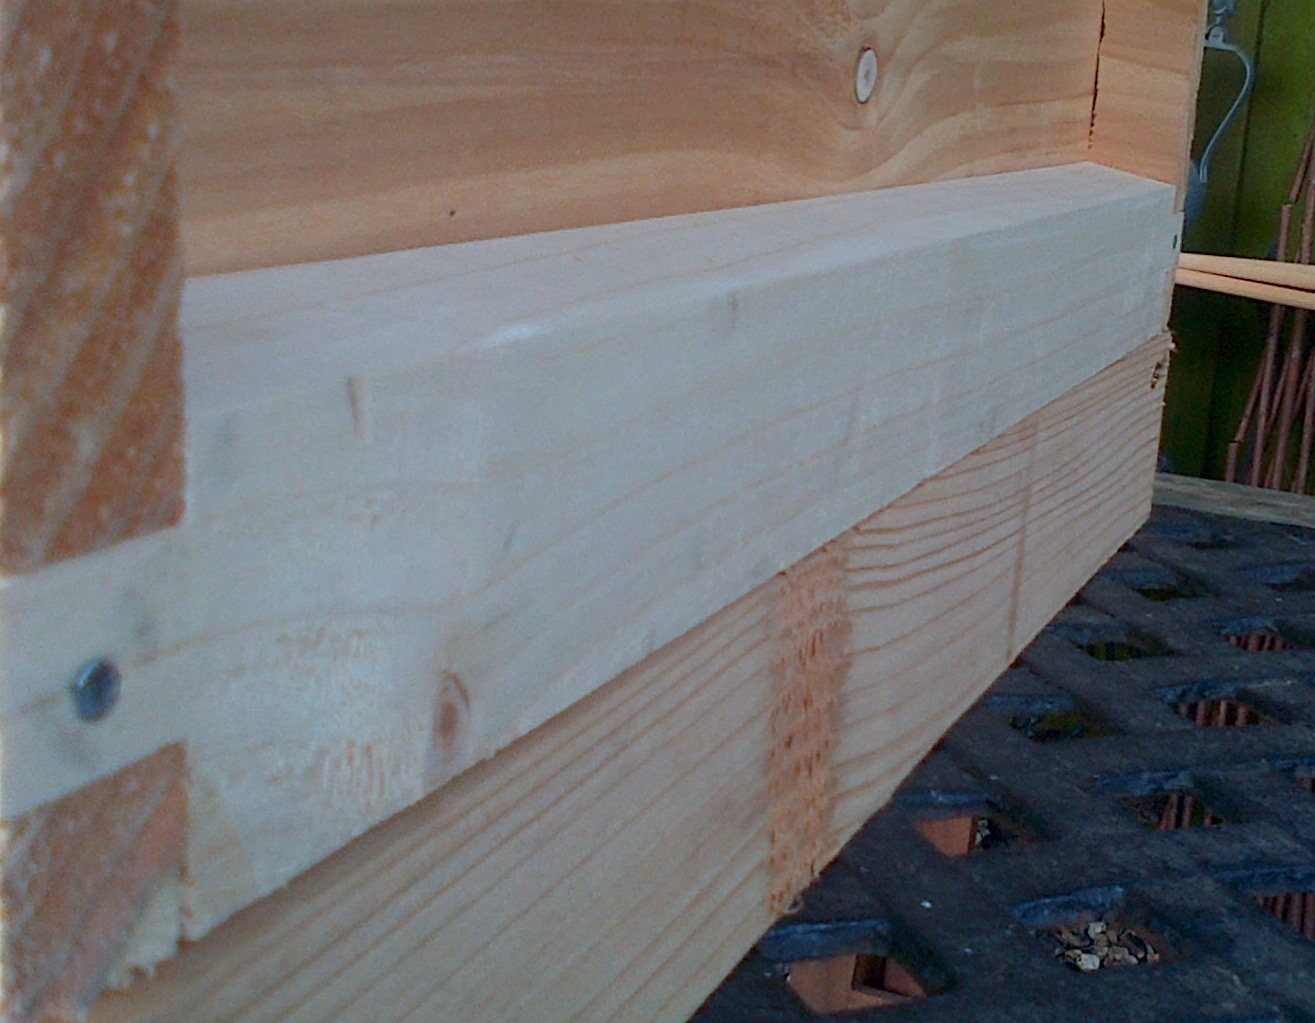 One of the key aspects of building any of the chambers is to orient the sloping base side rails outermost so any rain can run off the box.
This chamber sits directly onto the floor, there is no glue or fastenings that hold the sets of the hive together other than the natural propolis that the bees will provide to fill in any of the gaps. We will look into Propolis at a later date.
 The next layer of the hive is the Queen excluder, I have gone for a plastic one. The function of this is as the name suggests, to exclude the Queen, basically the chambers above are going to be purely honey stores and you need to keep the queen out otherwise she would just lay more brood in these areas. I chose plastic over metal purely to reduce the chance of a burr on the press metal type that can gradually wear down the bees as they pass through.
 Onto this sits the first super, this is much shallower than the brood box but functionally works the same way. I have made two of these, this allows redundancy and will allow my colony to grow into these areas if required.
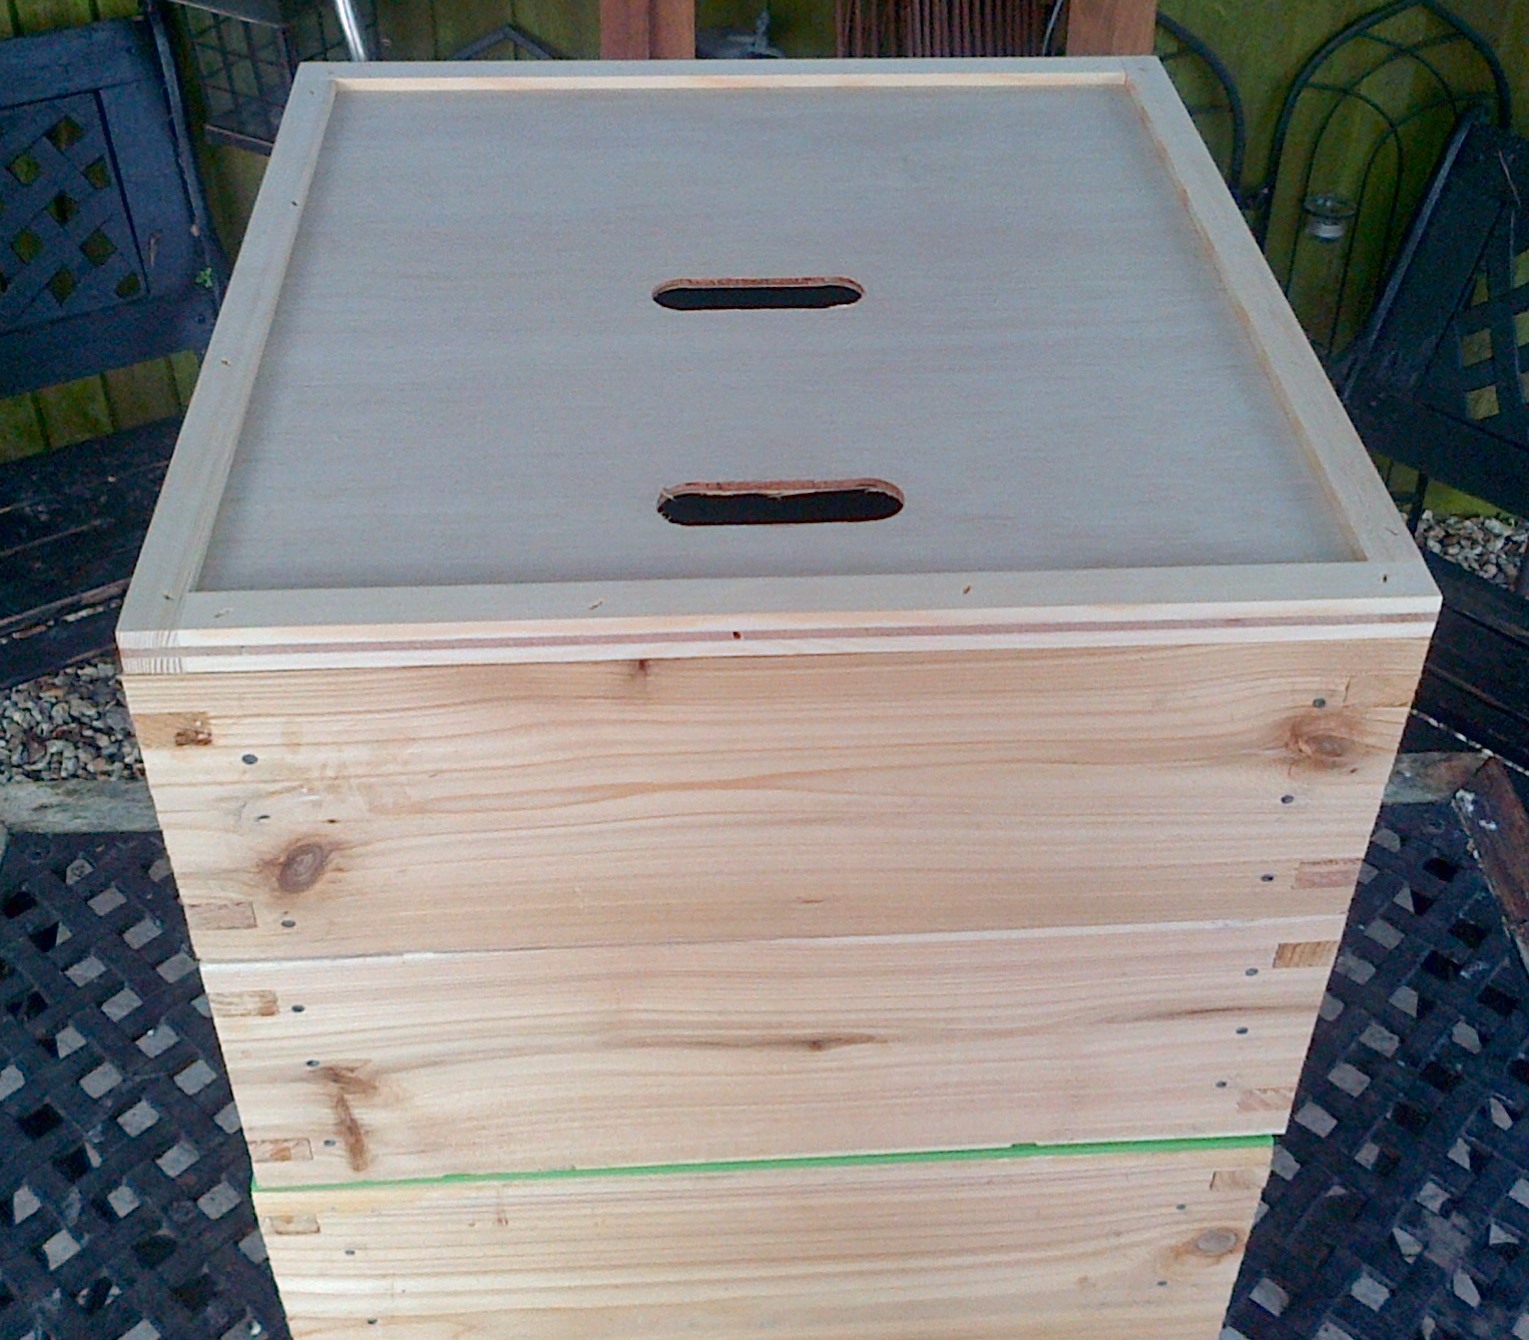 The crown board comes assembled, it has two elongated slots in it that allow feeders to be placed over them during winter months and they are also used to insert porter bee escapes which are one way doors effectively for clearing the bees before harvesting. I forgot to buy these but they are not required just yet anyway!
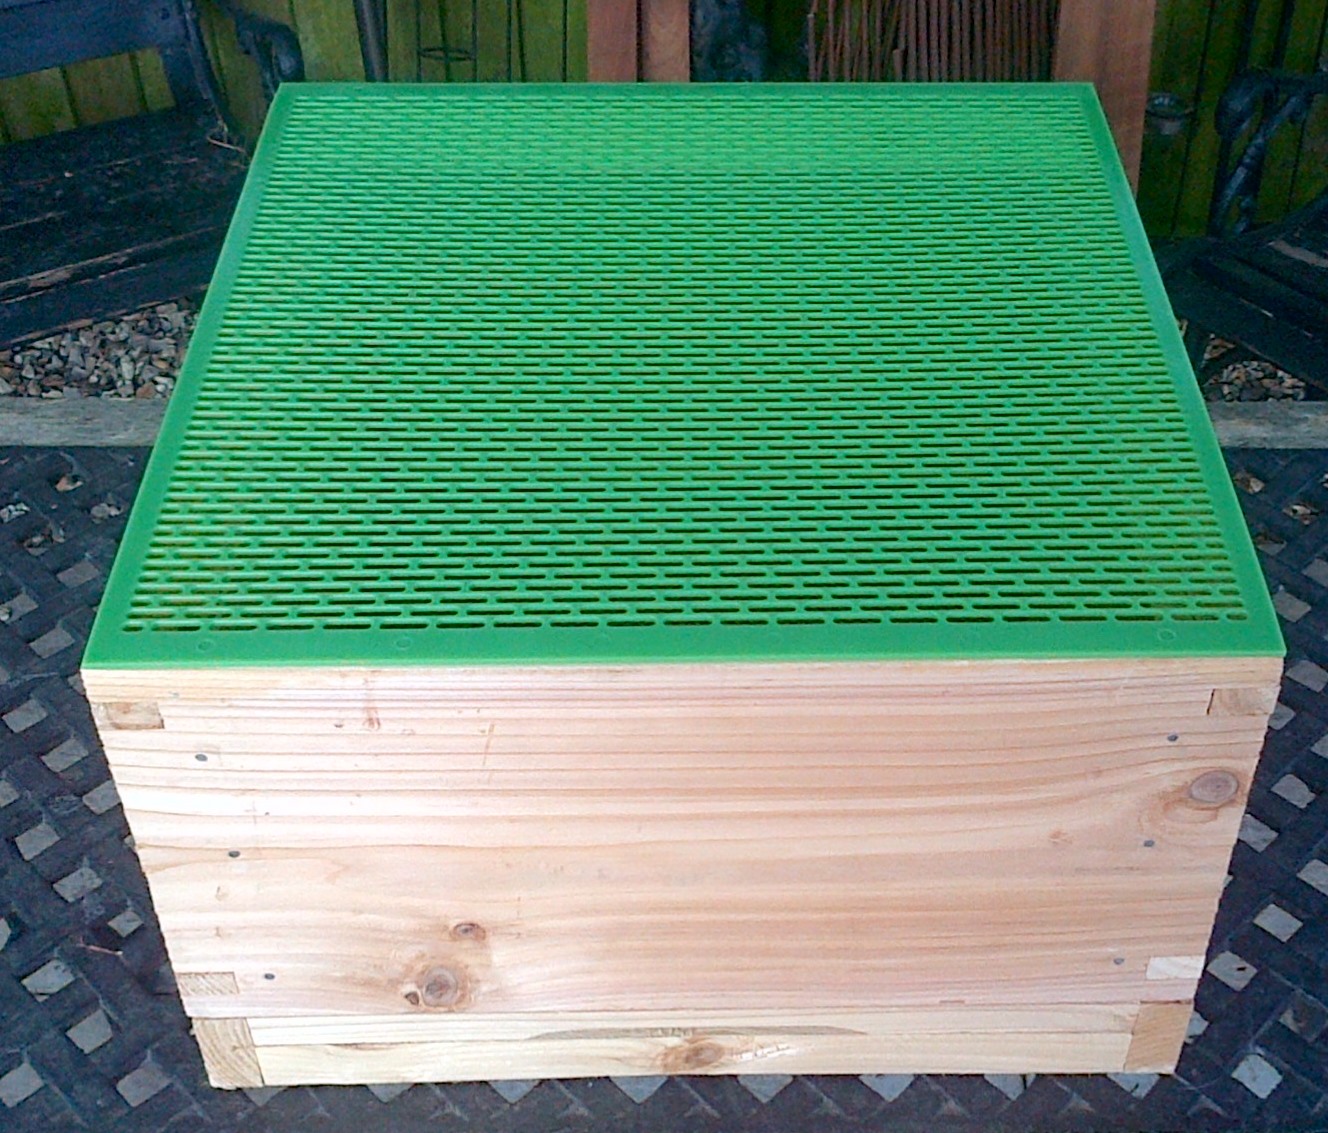
 Finally the roof, I almost messed this bit up as it was getting late and I got tired! but its all good in the end.
  The key points are the ventilation points, on the outside of two of the panels there are grooves, these are
  outer facing and align with the corresponding mesh of the lid
 I also made up a few frames for the brood box, I chose the wired wax foundation to maintain strength.
These are DN1 top bars, the narrow spacing onto which I will place plastic spacers to allow deeper wax cells to be created.
For diagrams of this project I used the downloadable PDFs from Maisemore shown in the link http://www.bees-online.co.uk/downloads.asp
Next Time…… I will take a look at the other starter tools, placing my Hive and the preparation to receive my nucleus of Bees.. thanks for reading.


How exciting. I am envious. We will definitely keep bees when we get our own land.
LikeLike
Pingback: The Bee Diaries – A start to the Bee keeping venture | Prepare to Survive
Nicely done Ian, what kind of wood is your hive made from? Is there better or worse kinds of wood to use?
LikeLike
Hi Bradley,
The wood is Cedar, I should have also mentioned that I chose seconds, that is where the wood has been rejected due to having knots. The only issue that knots cause are the occasion small hole or crack, which the Bees will fill with propolis anyway, the other small issue is the tightness when knocking in nails, but you just work around them.
The hives are general Cedar however I also found Redwood (Scott’s Pine) and Whitewood (Spruce)
LikeLike