Having once owned an American Flat bow and turned my hand a basic fletching of my own arrows I was intrigued as to how hard it would be to actually make my own bow. My research led me to the Youtube ‘educational channels’ and I found a few excellent step by step videos showing how to make a bow from a single wood bow stave.
My flatbow was sold in 2014 to raise funds for a compound bow, however I still had a desire to make my own from ‘scratch’ so when Black Bear Bushcraft announced that they were running their first Bow making course, I natually signed up myself and my wife for the weekend course.
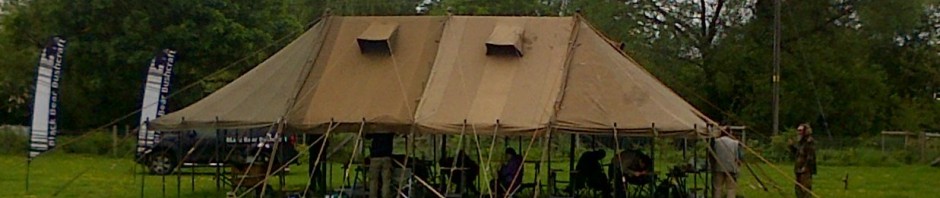
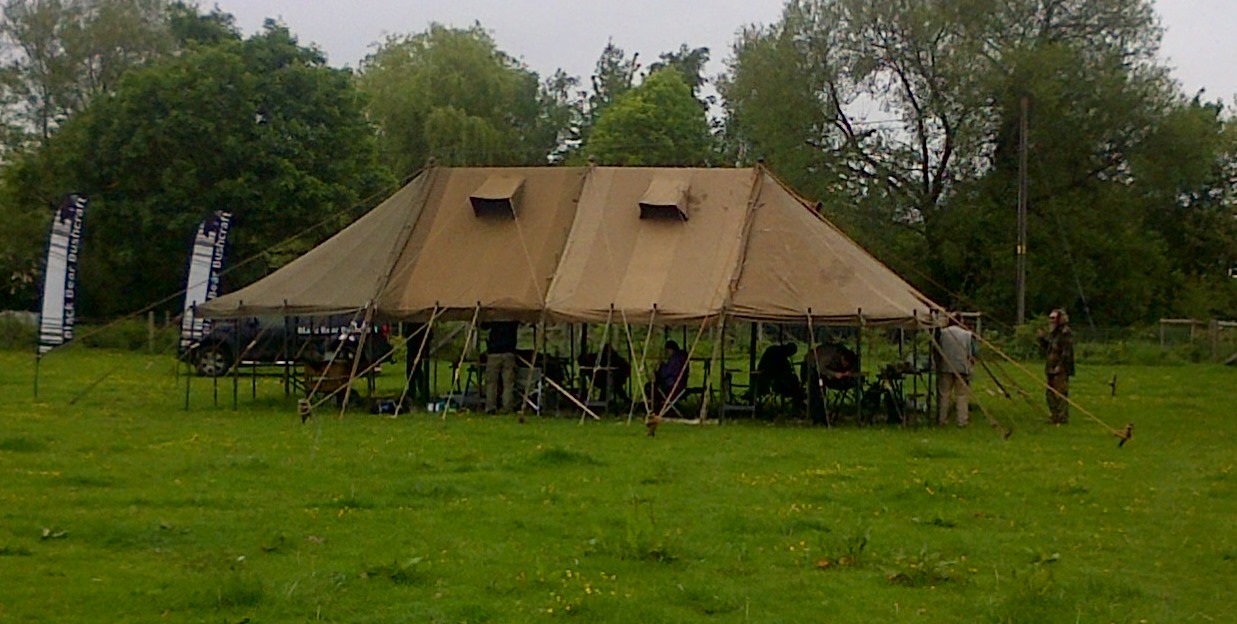 Set in a Small holding farm in Worcester on a sunny weekend in May we arrived to be greeted by Jake (one of the Black Bear helpers) and some of the other 9 students ready to take on the task. The setting was ideal with an open workshop under a retro tarpaulin canopy.
Each workstation was kit out with a laminated bow stave, stool and work mate table, pencil and sharpie marker. Starting a little late due to a last-minute dash for tools, Dan roughed out the dimensions on his stave explaining a little about the English longbow history as he went along. The aim of this course was to make a D shape English long bow and on the second day be in a position to shoot the bow.

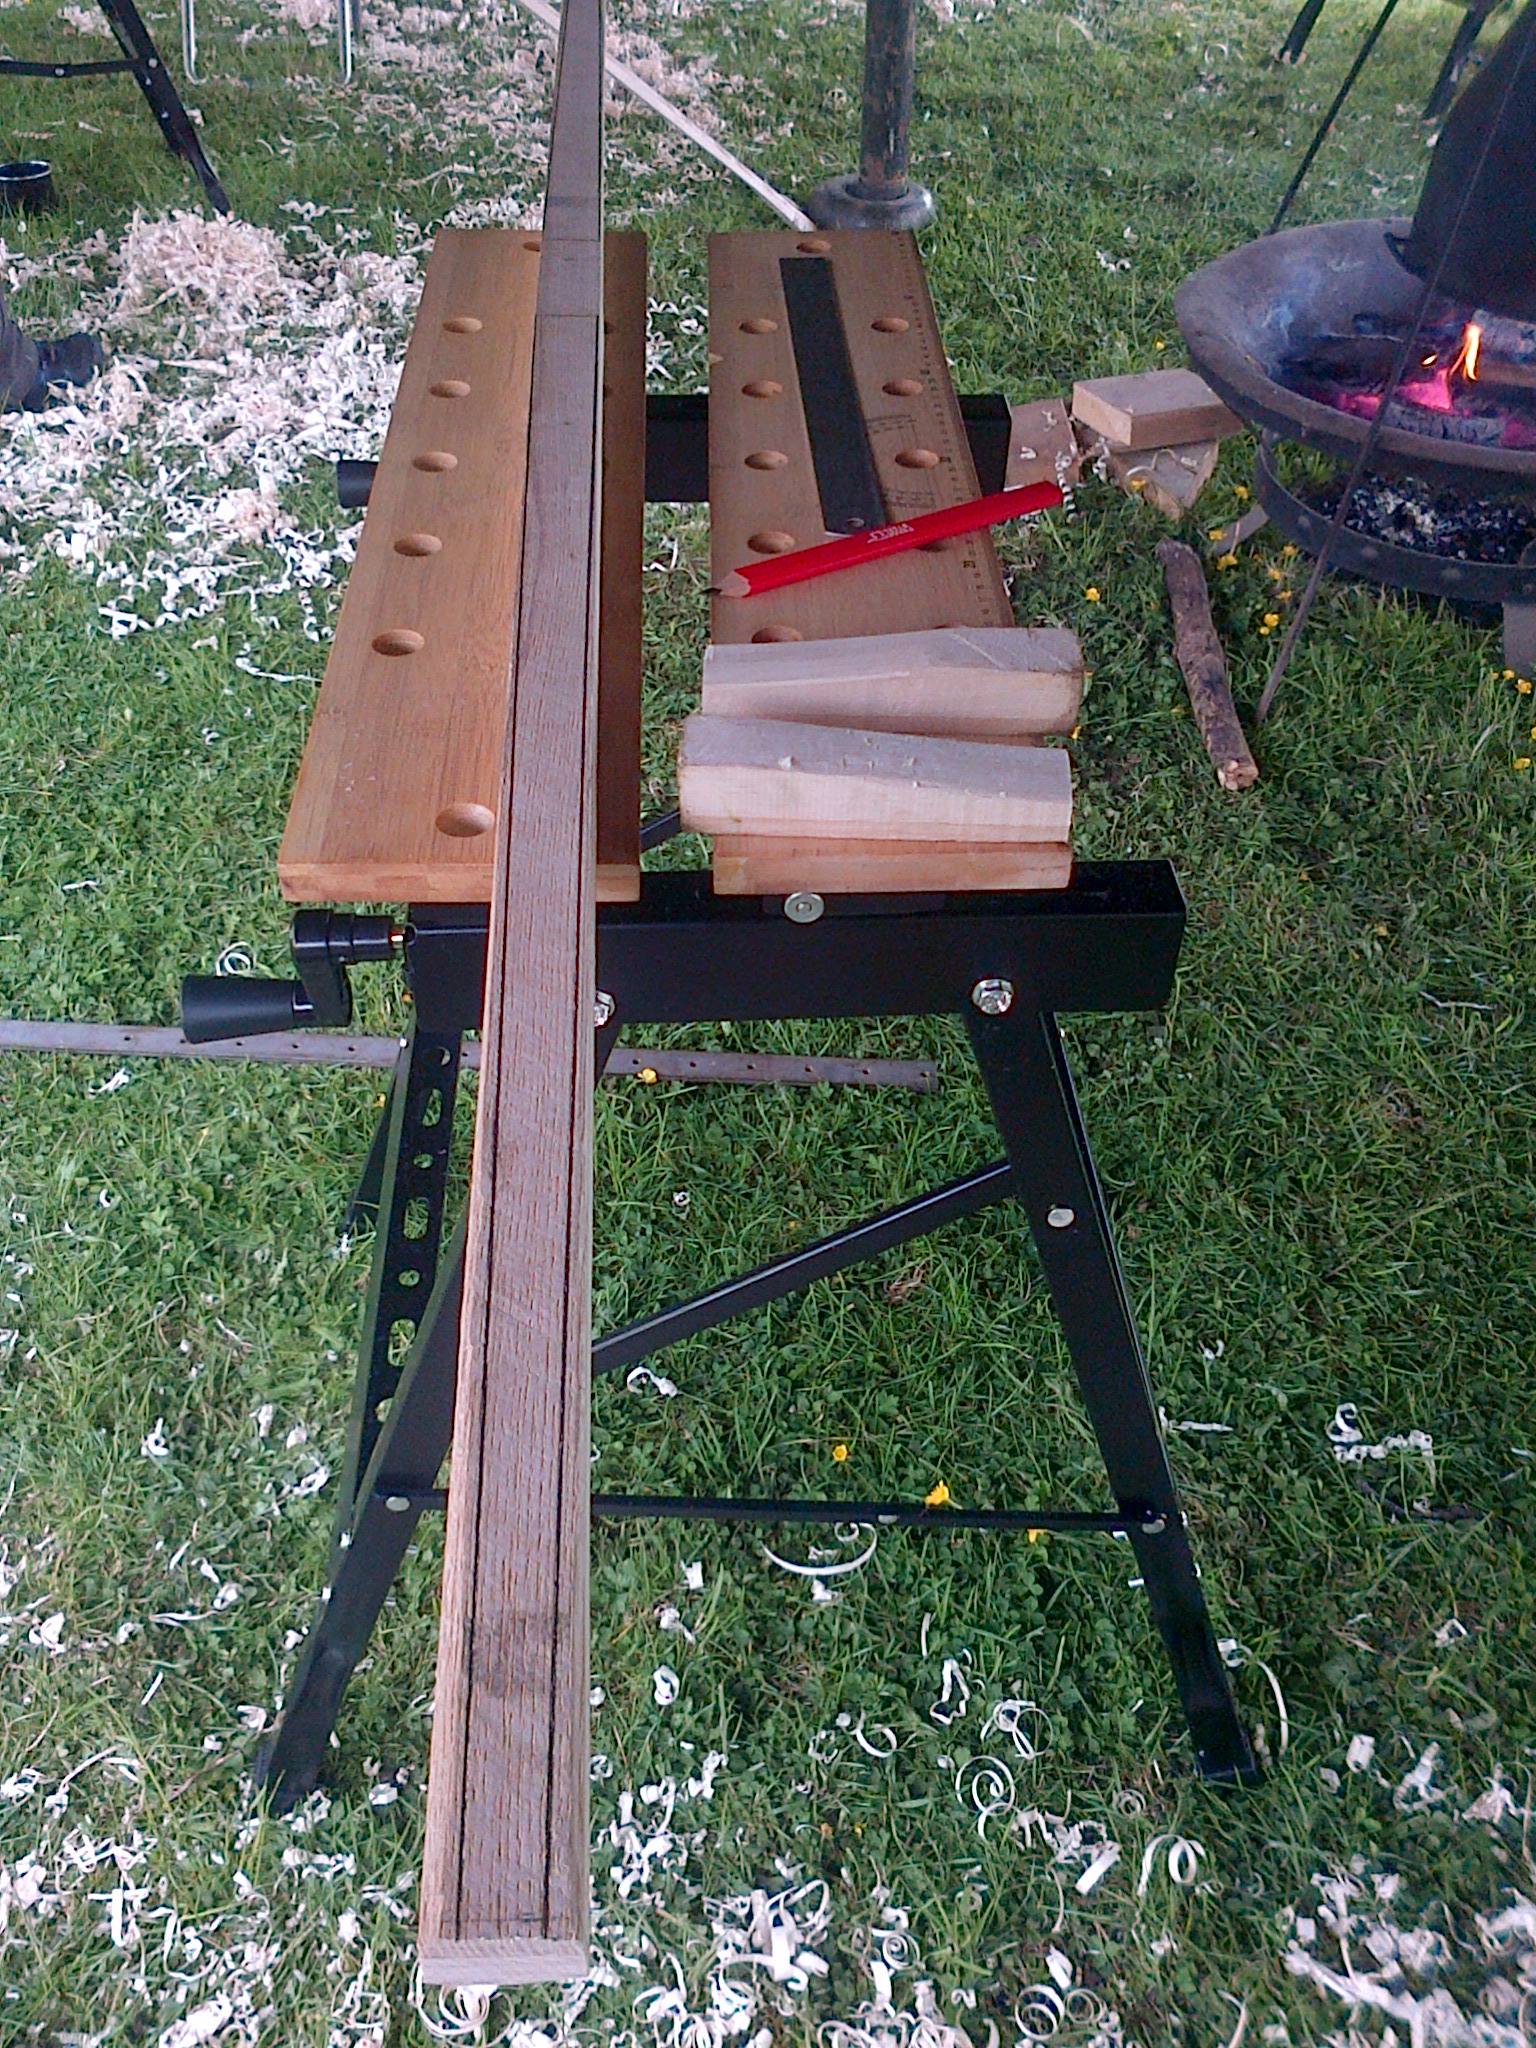 Marking out the bow firstly by finding the centre lines and then marking 100mm for the handle and the bow length which was roughly the height of the bow maker. The width of the bow at the handle was 33mm tapering symmetrically down to 15mm at the ends, likewise the thickness of the bow stave was tapered down from the handle to 15mm at the ends. The choice of tools were the block plane, spoke shave or for the traditional, the draw knife. Personally I used the Spoke shave, however knowing what I know now I would choose the Block plane for this type of bow making.
Stage one was to remove the excess wood in the marked areas.
With the camp fire kettle on constant boil  there were plenty of refreshments. A ploughman’s lunch later and by the end of day one almost everyone had
  shaped their stave as required and started to use the cabinet scrapers to finely finish it ready for stringing.
With an evening meal of pulled pork and the option of a few locally brewed beers over and as darkness fell, the camp settled in for a chats and stories around the camp fire.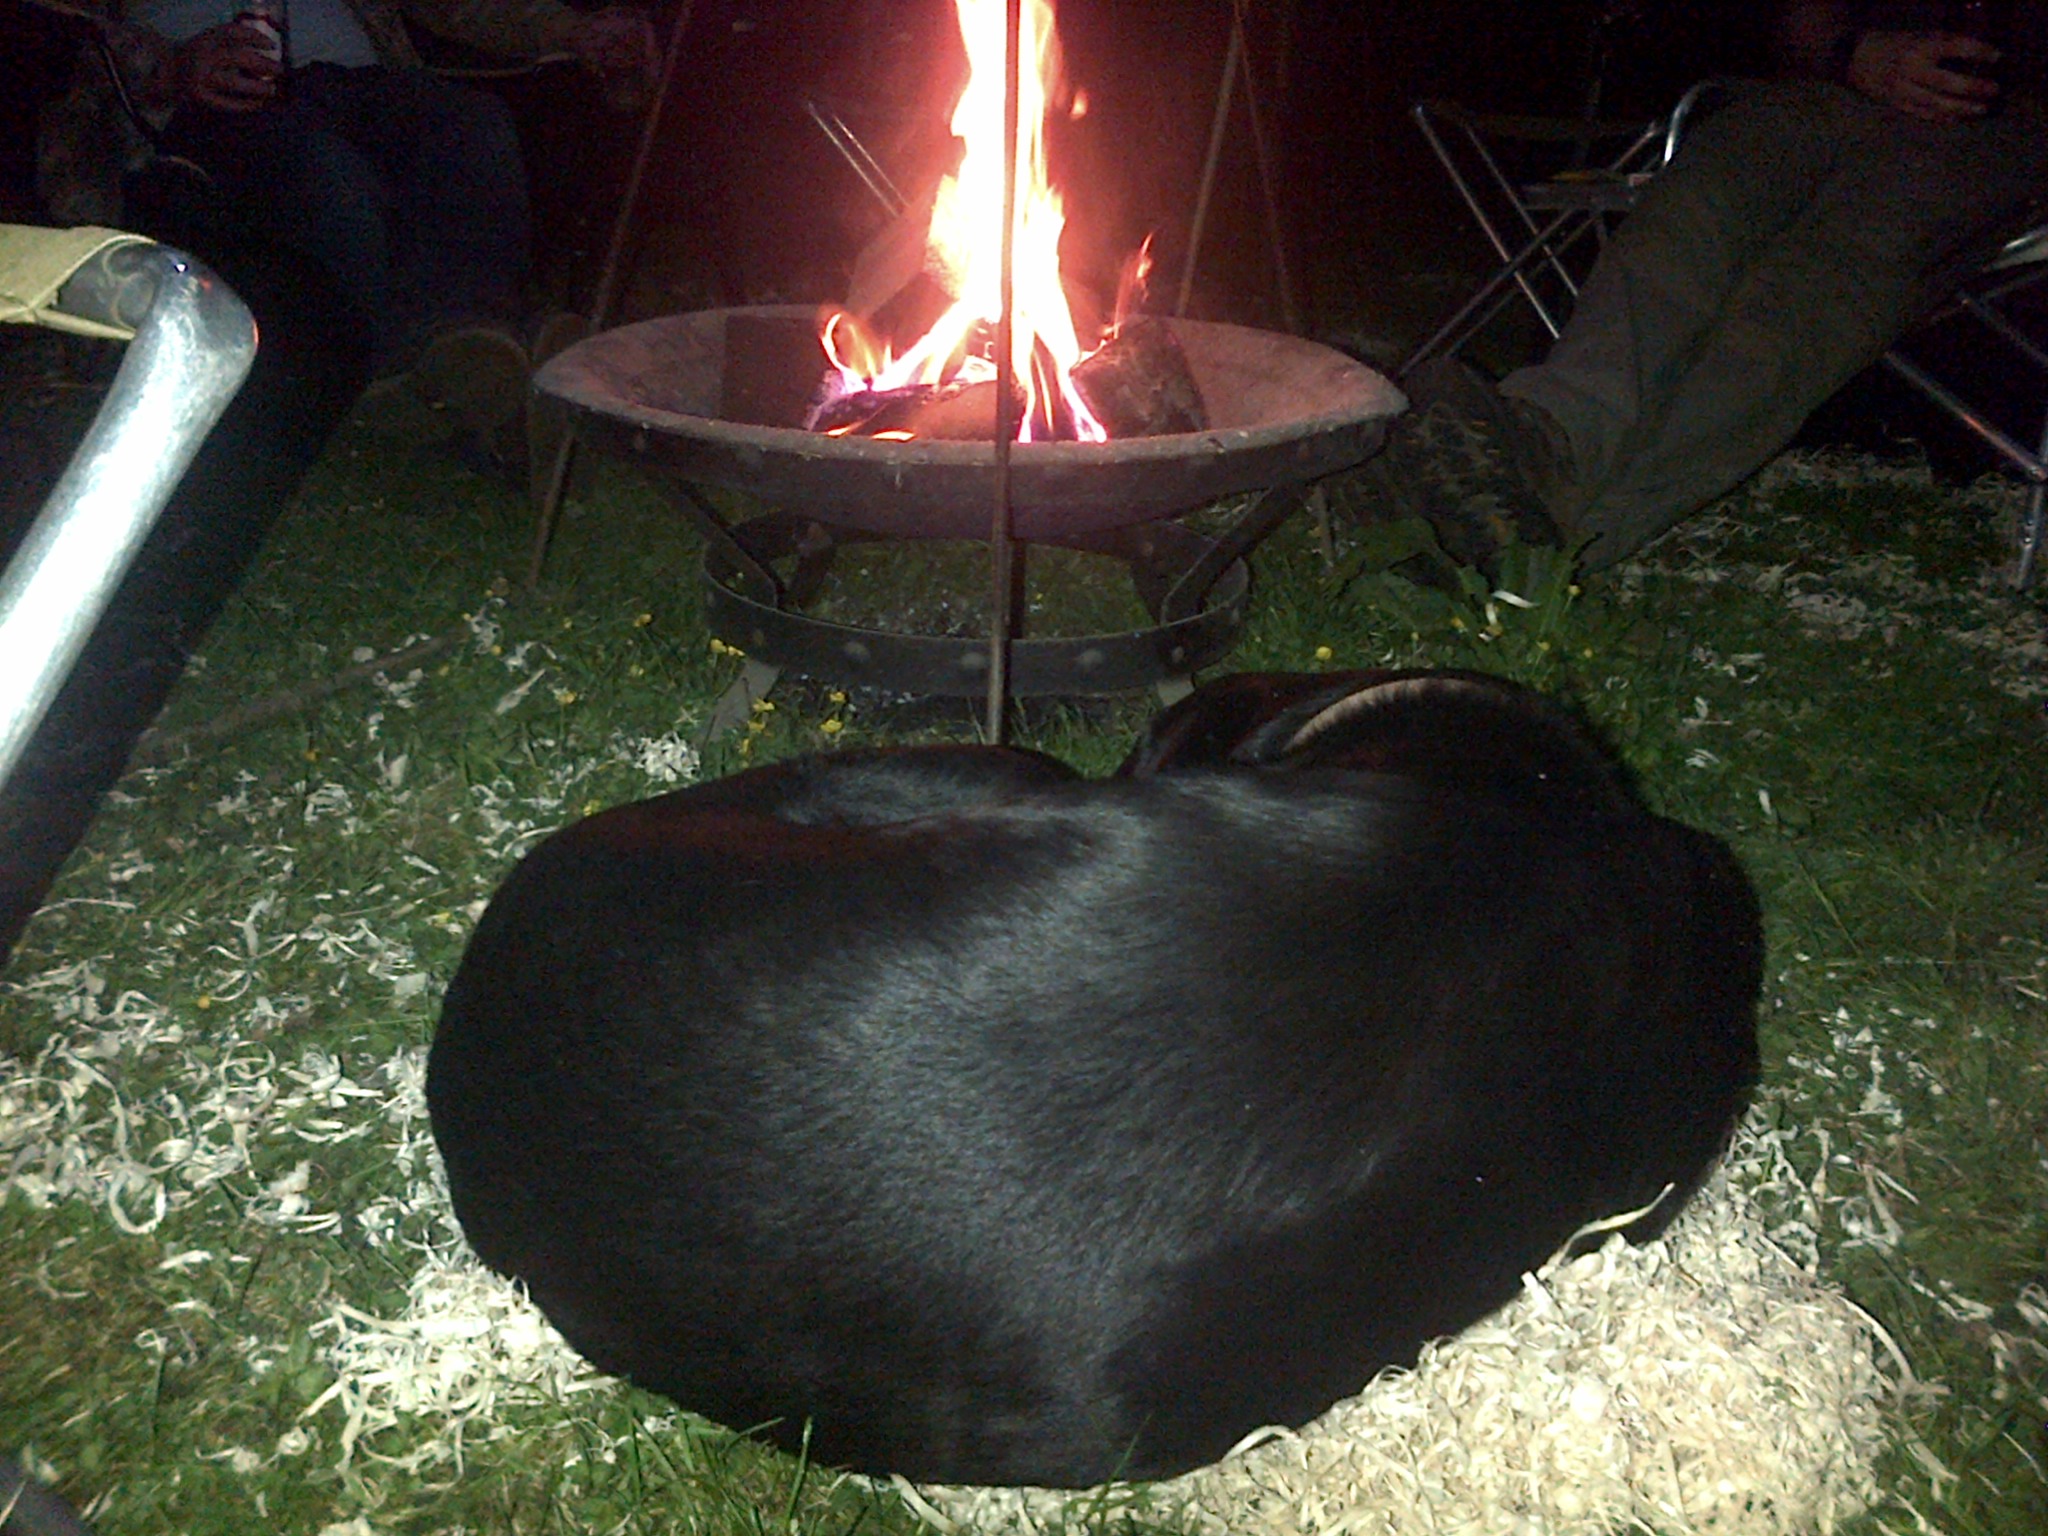

A nice early start the next day, restarting the fire and getting on the first brew of the day!Excited about finishing off the bow. Scrambled eggs on toast consumed we set about marking the nocks on the staves ready for tillering.
 Using a tile cutter to file the groove in the stave made it a relatively easy task.
Using paracord as a bow-string during tillering, the staves were strung and the art of tillering commenced.
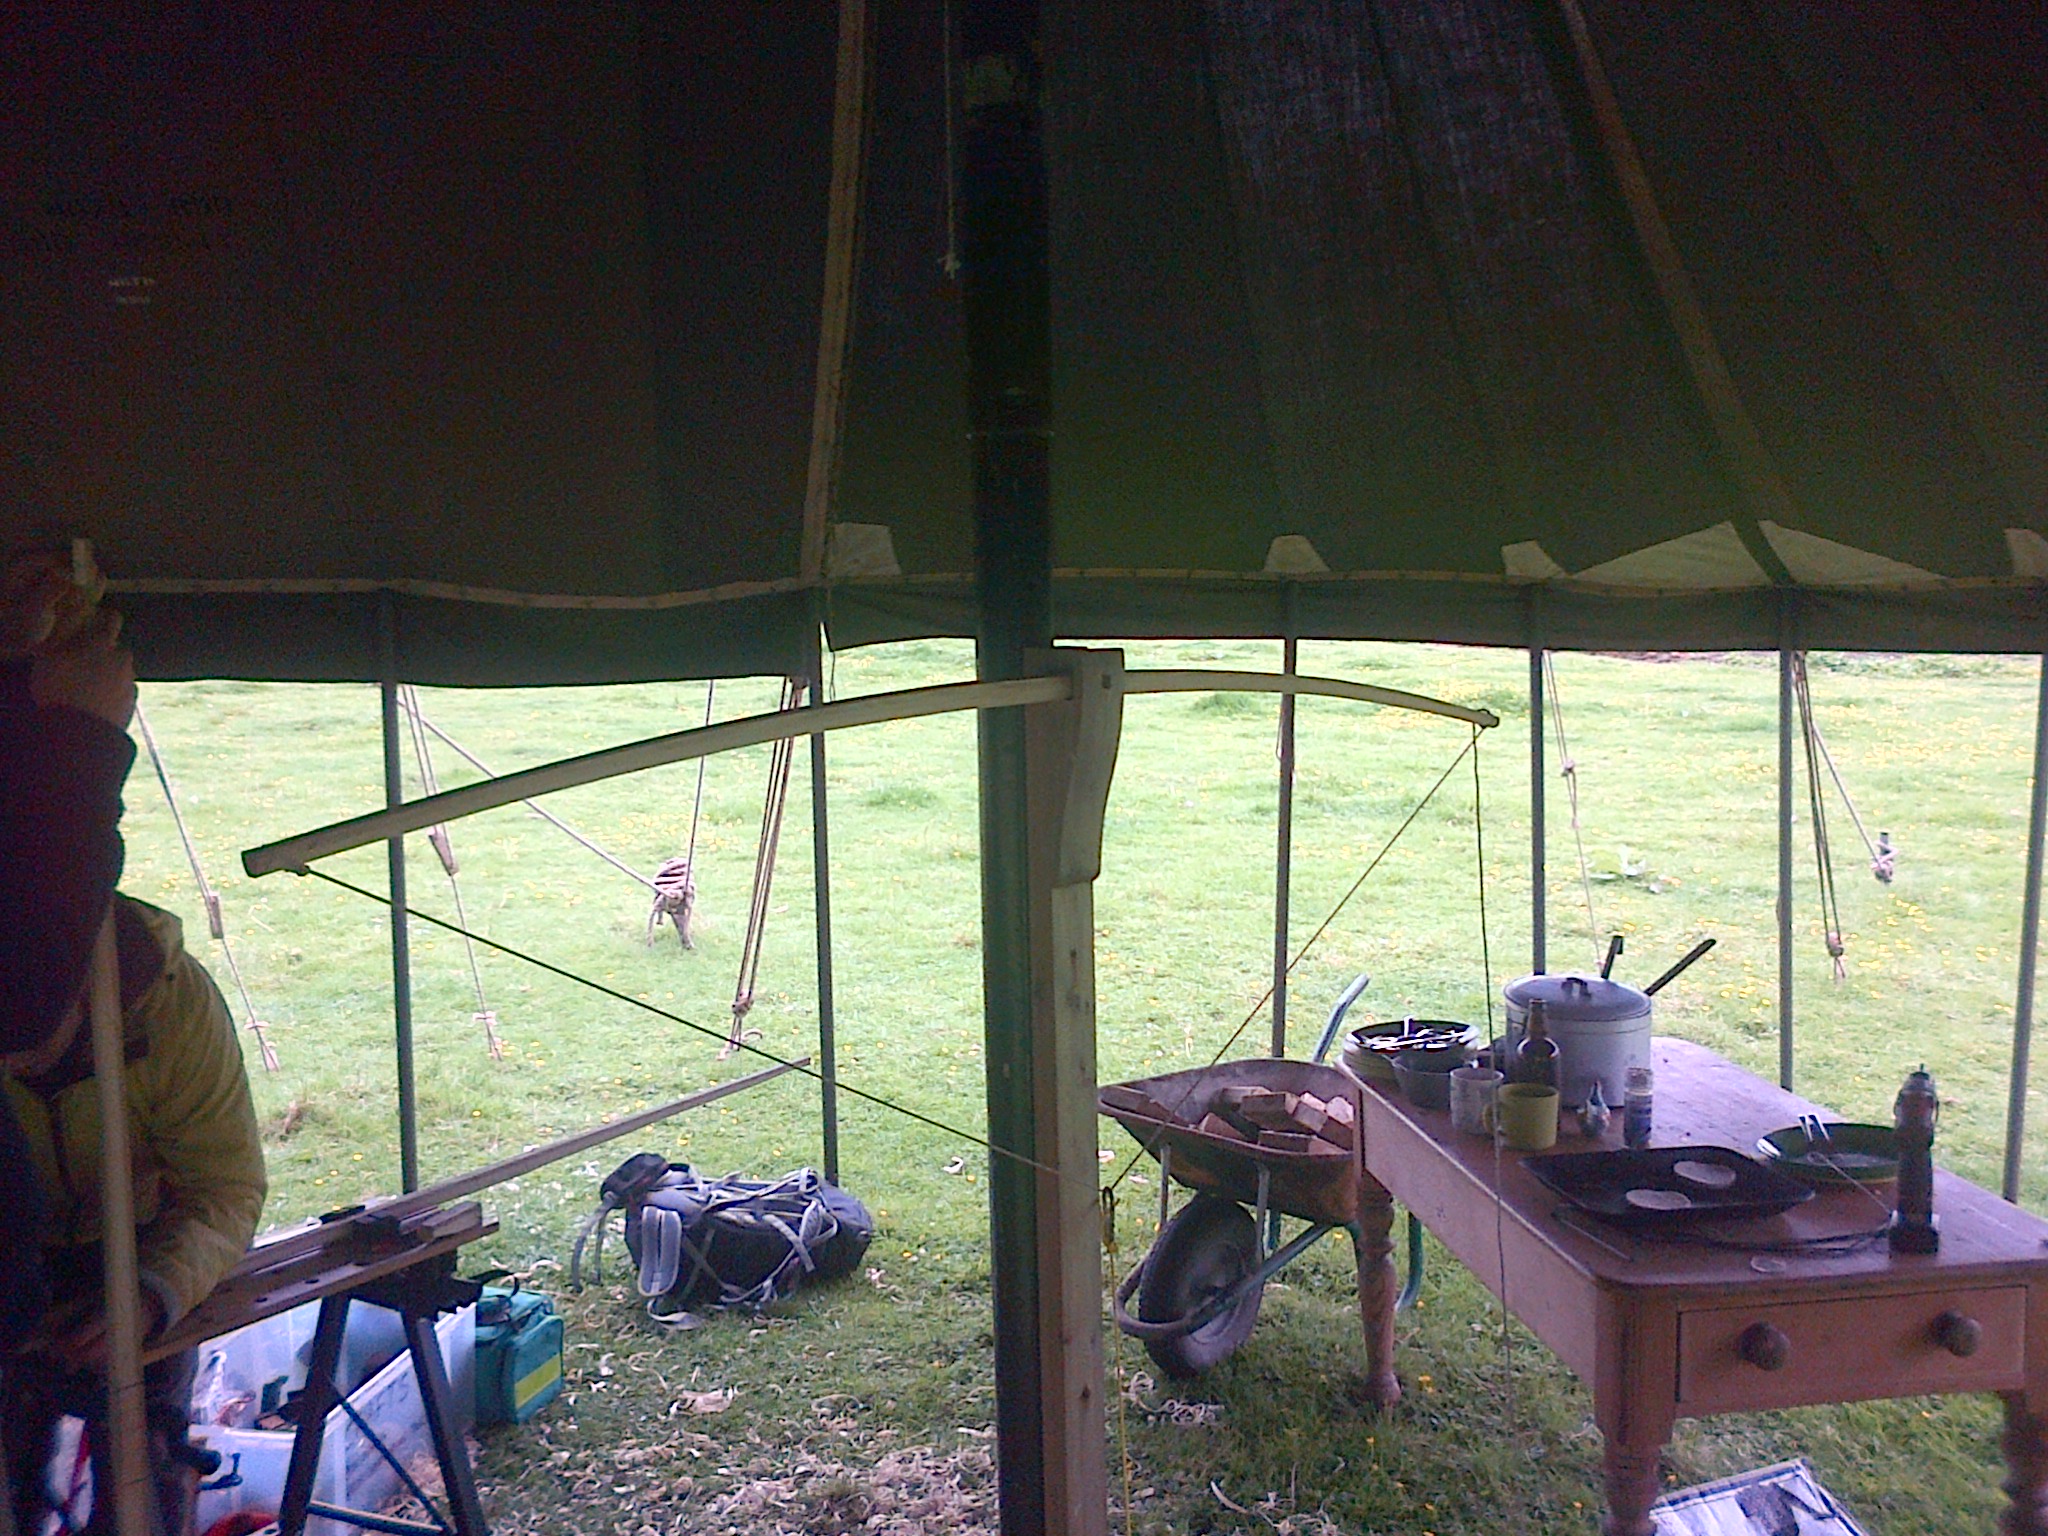
It was at this point that I was first concerned about the instruction given to not use the planers or shavers and to only remove wood with the cabinet scraper. The bows at this point were still very solid with little to no flex even under strain from the tiller. The whole day was taken up tillering and scraping small amounts of timber when it was clear to me that we needed to remove far more to obtain the curve required with the pressure loading.
Again, I couldn’t fault the food and environment and continuing as instructed we all painfully removed small amounts of wood and by the end of the day, I and a few others had proper string on their bow, however these were far from been capable of shooting an arrow. 
The gentleman shown working his bow in the image was minutes away from snapping his bow!
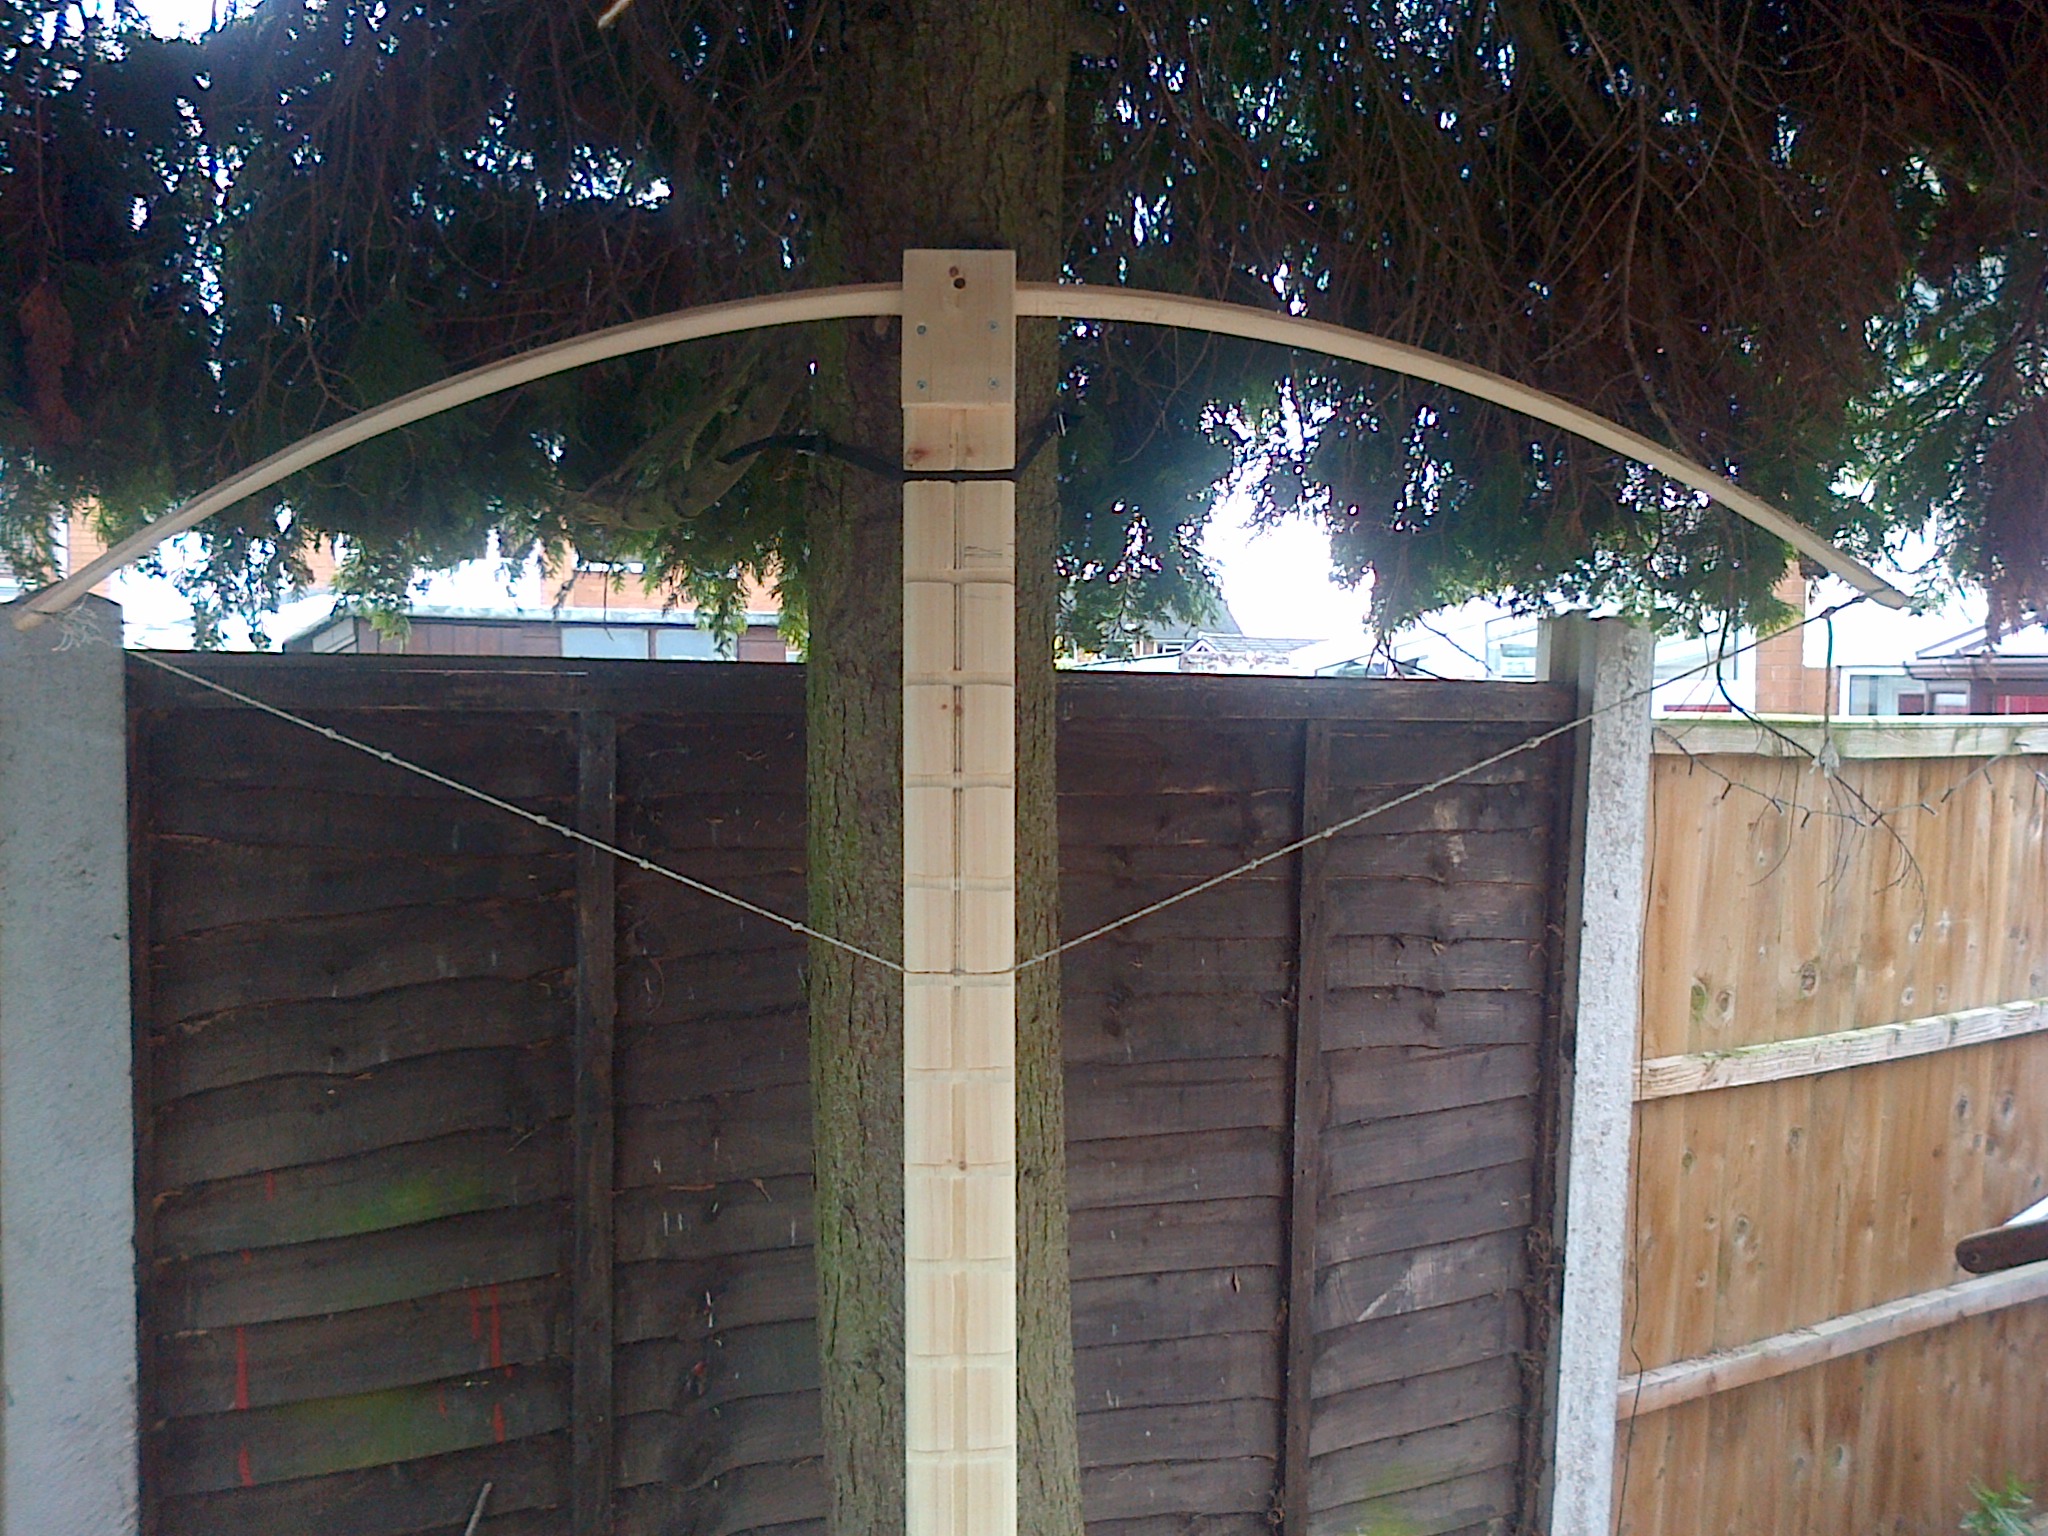
 Despite the disappointment of not finishing the bow we headed home and I made a tiller and continued to work on my bow as instructed for a further weekend, eventually it broke!
I discussed this with Dan at Black Bear Bushcraft sending him images and sketches of the bow at the break and he kindly sent through another stave for me to work on.
This doesn’t look good on Black Bear Bushcraft and I understand that some of the other attendees on the day took their complaints a lot further, however this was the first session and some leeway has to be given, Dan offered for anyone who didn’t complete to attend the next session free of charge and I have since seen that a subsequent group a few weeks later had a better success rate.
Since this epic failure I have successfully shaped, strung and shoot my second attempt at making a bow and have almost finished a child’s longbow from one of the broken ends of the broken bow.
The next write-up will go into detail of how to make a longbow and shoot my first arrow.

